Easy 5-Step Guide to Natural Looking Nails with No Polish
This post may contain affiliate links, which means I may earn a commission if you decide to make a purchase through our links, at no cost to you. You may view the disclosure here.
Easy 5-Minute Manicure
I love it when my friends get a freshly-painted, colorful manicure, but I prefer a natural, no nail polish look.
To copy the look of Victoria's Secret models, I maintain natural-looking nails. I do my own manicure at home with no nail polish. It takes less than 5 minutes a week, and my nails are healthy and never brittle.
How to Get Natural Looking Nails: Step by Step at Home Manicure Instructions
Here’s a DIY at-home manicure guide to get healthy, shiny, natural looking nails at home. All within 5 minutes once a week using five simple manicure products.
5 Steps to do a 5-Minute Manicure at Home for Natural Looking Nails
Follow steps 1 through 5 for an easy at-home manicure that results in natural looking nails.
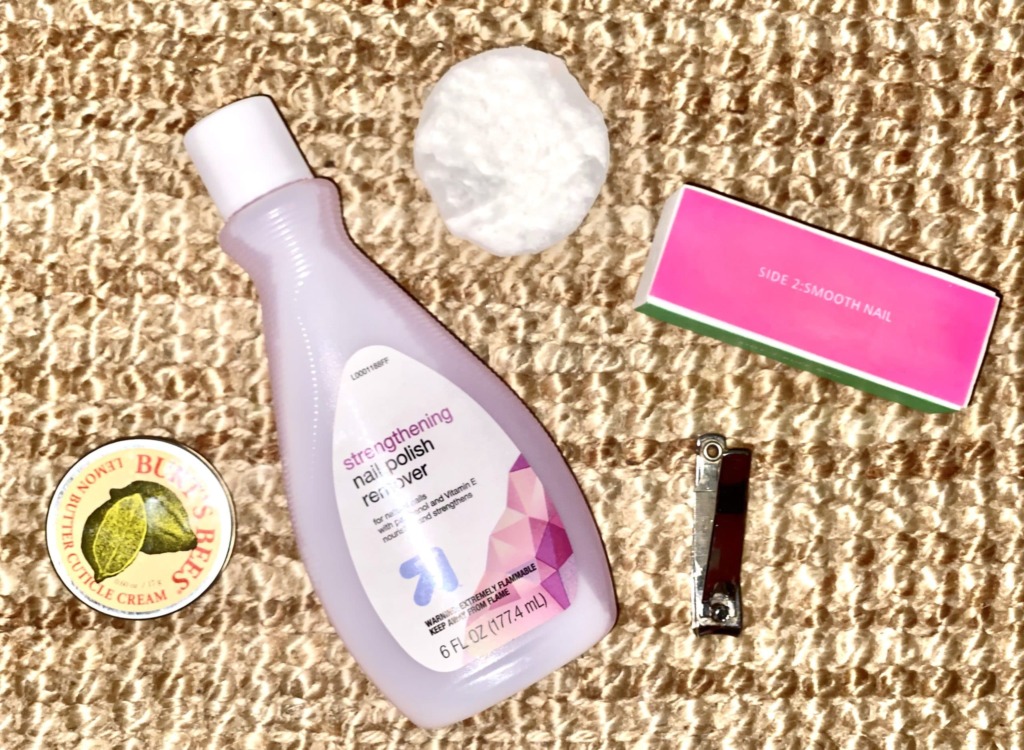
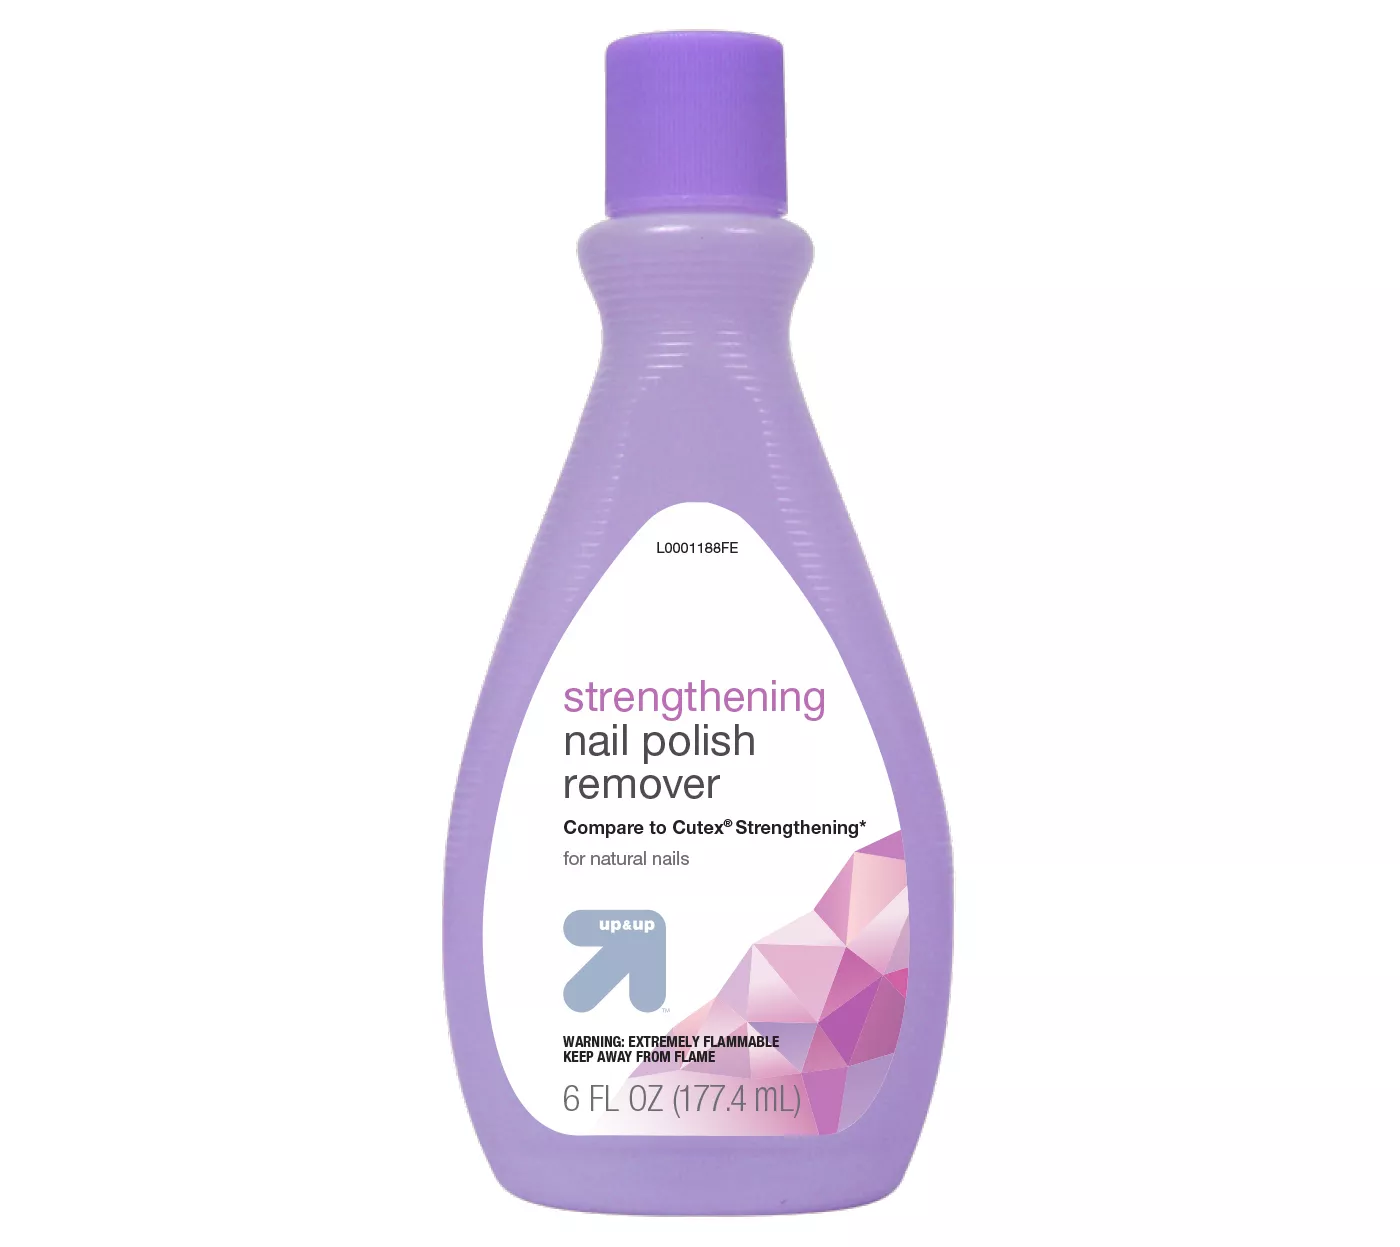
1. Step #1 for Natural-Looking Manicure at Home: Apply Nail Polish Remover
Whether you have nail polish or not, the first step to a natural-looking manicure is to wipe the nails with a nail polish remover.
View Nail Polish Remover on Amazon
Go with the $0.99 simple nail polish remover from any drugstore.
I personally buy the Up&Up strengthening nail polish remover from Target, but any nail polish remover will do.
If you have nail polish on your hands, I’d recommend a slightly stronger nail polish remover, like the Up&Up non-acetone nail polish remover from Target.
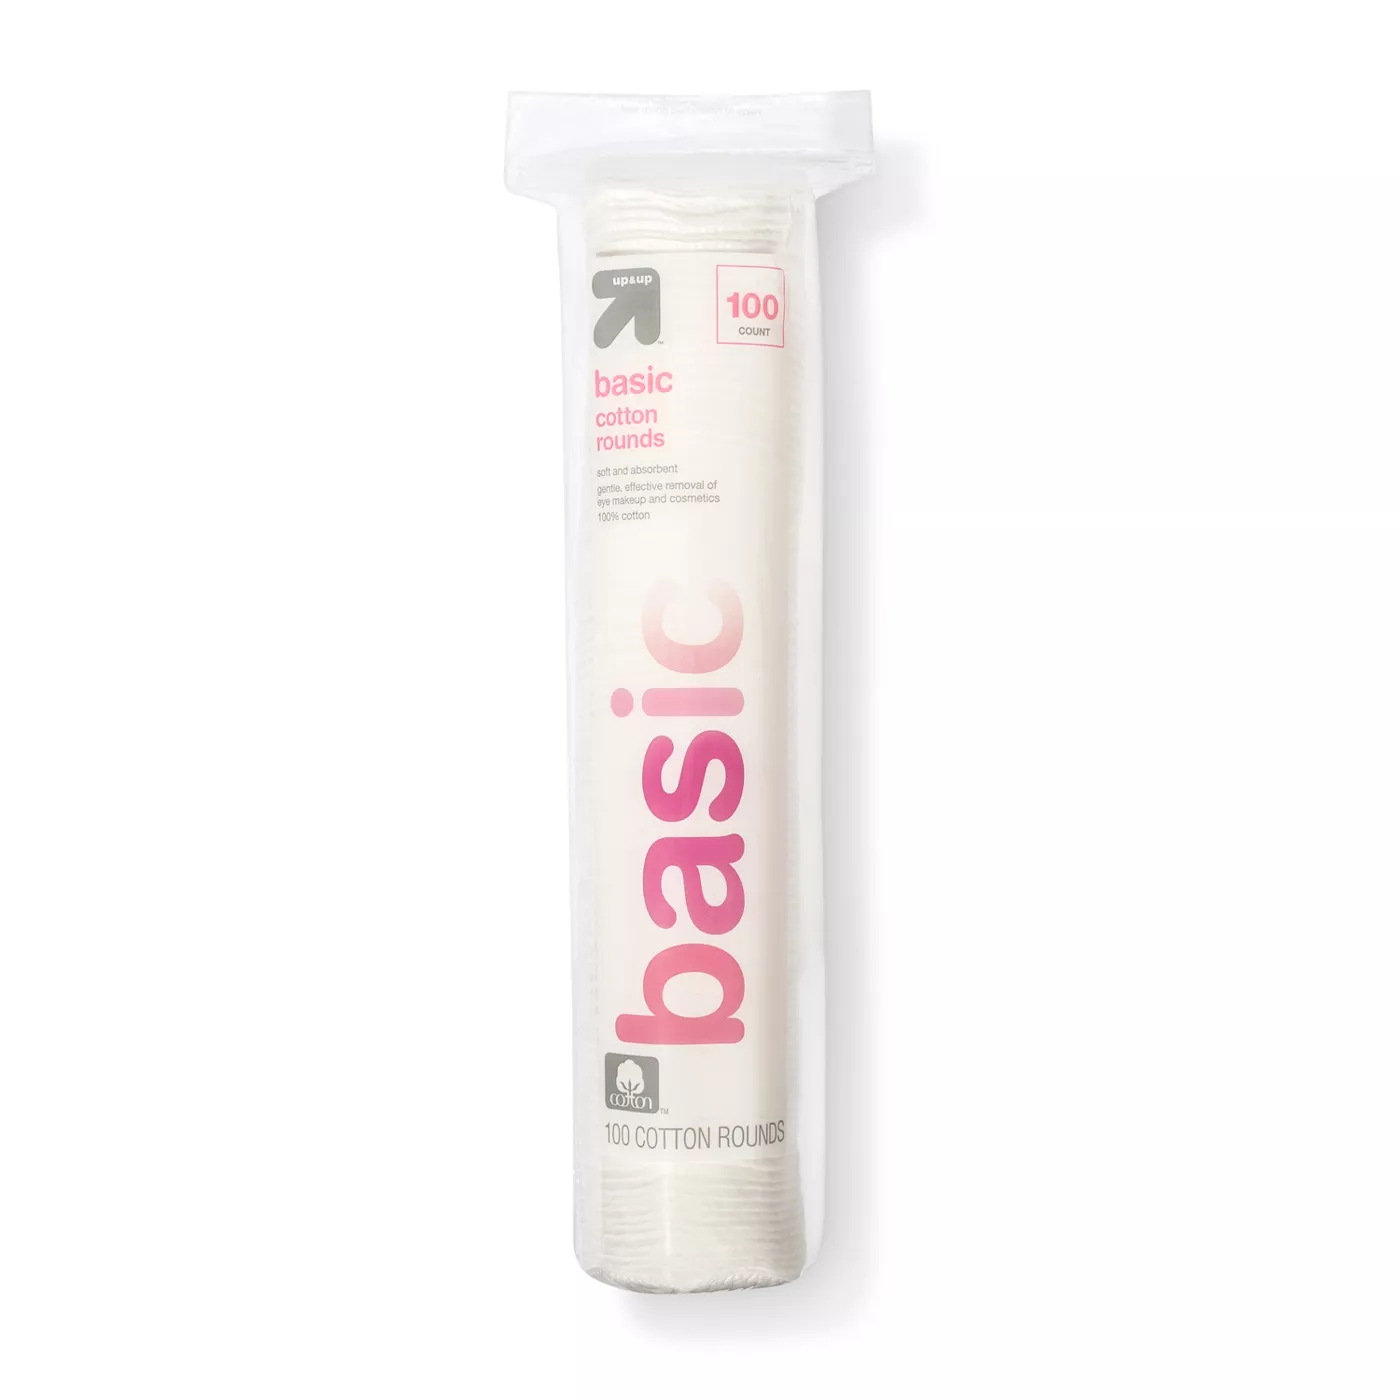
I use basic cotton rounds (the 100-size pack) to remove the polish, as I’ve found that paper towels don’t work too well. You can buy basic cotton rounds at Target, or I buy mine from the Dollar Tree.
2. Step 2 for your at-home manicure: Clean the inside of your nails
The second step is to clean the inside of your nails. Again, nothing fancy.
I personally like the Revlon or TRIM nail clippers. The slightly cheaper brands leave a rough edge.
3. Step 3 for DIY at-home manicure: Trim the nails
Step three to an at-home manicure is to trim the nails. Pretty simple.
4. Step 4 for DIY shiny, natural looking nails: Use a buffing block
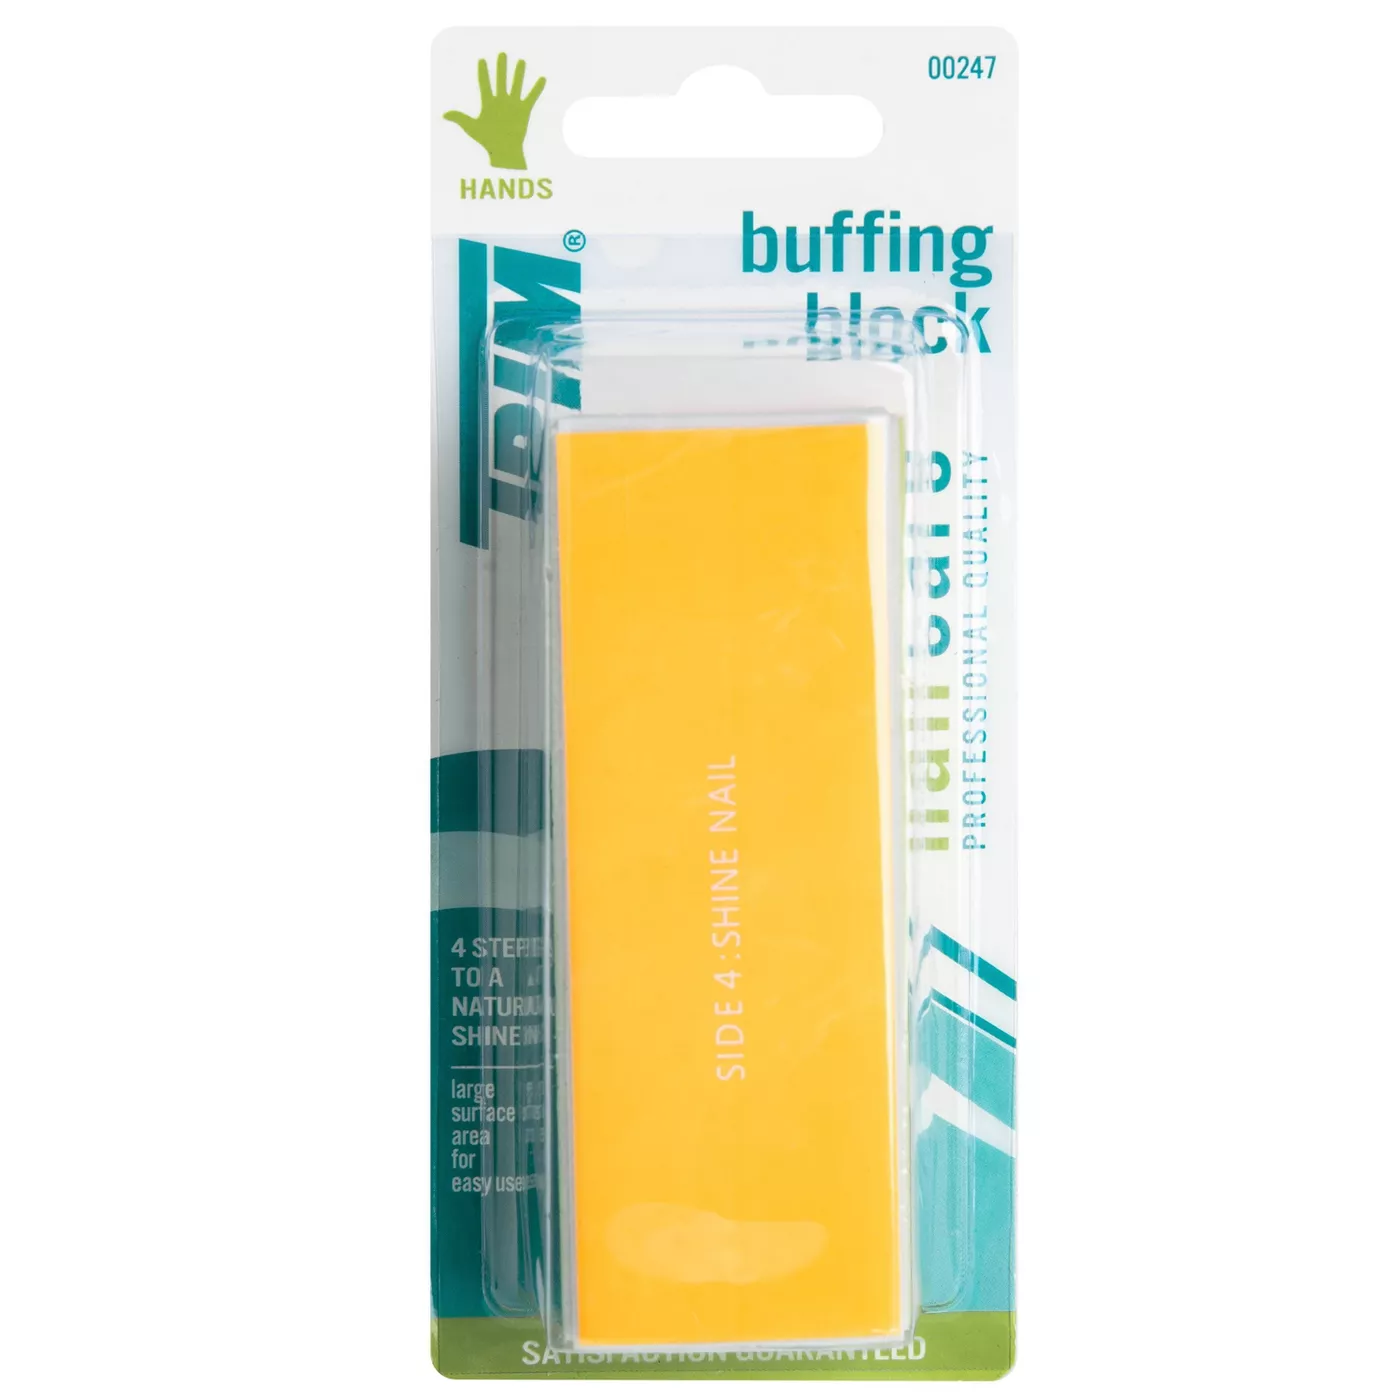
Now here’s the magic product that I absolutely love – the 4-step color-coded buffing blog by Trim. Love, love, love it! Nail files scare me and leave rough edges on my nails.
This buffer by Trim for at-home manicures is dummy-proof.
- 1) Side one is to smoothen your edges. It says, “Side 1: Even Out” and is yellow. It tells you what to do – use that side to even out the rough edges of your nail!
- 2) Then move to another side of the buffer, conveniently called, “Side 2: Smooth nail.” Use this to smooth your nail.
- 3) Then Side 3: Buff nail.
- 4) Then side 4: Shine nail. And I will tell you – side four actually shines your nail.
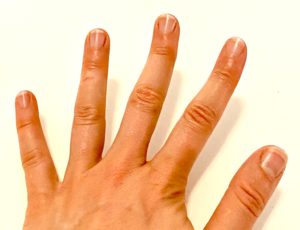
The images below show the after pictures of my nails.
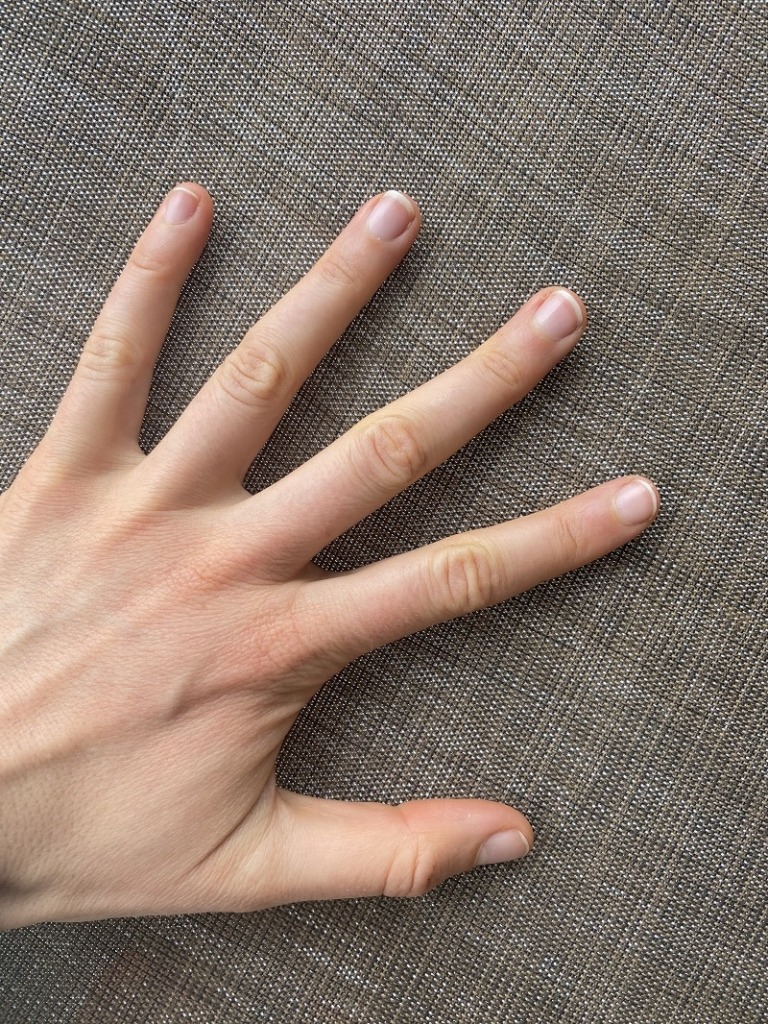
Step 5 for Healthy Looking Nails and the Best At Home Manicure: Use Burt’s Bees Cuticle Cream Weekly
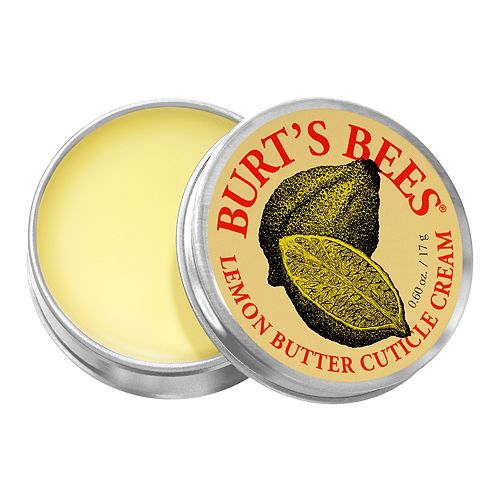
The last and final step for salon-quality at-home manicures is to use a cuticle cream weekly.
I swear by Burt’s Bees cuticle cream. It’s non-greasy. It’s not watery. It keeps nails strong and healthy. I keep one in my car and one in my desk at work, and apply whenever I have a minute.
It is also a great way to keep your hands from drying out in the winter.
Done!
Benefits of DIY Nails at Home
I love doing my nails at home for so many reasons. Below are some of the benefits of keeping a simple, no-polish look.
1. Save Money
It’s inexpensive to do your nails at home. The total cost for all the at-home manicure products is only $12-15, and lasts more than a year!
2. It Looks Professional
Natural looking nails are professional and perfect for any work environment.
3. Stronger Nails
Your nails won’t get brittle or break.
4. Save Time
No salon appointments are necessary.
5. No Chipped Nail Polish
Your nails ALWAYS look good.
More Tips for Healthy Nails
Here are a few more tips to maintain healthy-looking nails at home.
1. Avoid Gel Manicures
Gel manicures can break down your nails over time, especially SNS (AKA dip powder nails).
2. Add Collagen to Your Diet
I swear by the Orgain collagen peptide powder. I add it to my coffee each day. It supports strong and healthy nails.
3. Don’t Pick at Your Nails
If this is a habit of yours, it will be hard to break…but try not to pick at your nails.
4. Use a Nail Polish to Strengthen Your Nails
If you have weak and damaged nails, try using a nail polish strengthener treatment. Women swear by the Nail-Aid Keratin 3 Day Growth Nail Treatment.
YouTube Video: DIY Manicure at Home
Prefer to watch a YouTube video to learn how to have a natural looking manicure at home? Check out the video below by Very Easy Makeup, and please subscribe to the Very Easy Makeup YouTube channel.
FAQs About Natural Looking Nails with No Polish
Can I make my nails look good without polish?
Yes, absolutely!
The key to having good looking nails without nail polish is to 1) use a cuticle cream (like the Burt’s Bees cuticle cream), 2) trim your nails to be even, and 3) remove dirt under the cuticles.
A buffing block will also make your nails shiny.
Are nails healthier without polish?
Yes, even though there are nail polishes without the harmful ingredients that you used to find, it is still healthier to go without nail polish. But I’ll admit it…I still paint my nails for fun. 😊
Just avoid gel manicures and dip nails (SNS manicures) if possible.
More Nail Guides
![The Best Makeup for Travel [Essentials to Pack]](https://veryeasymakeup.com/wp-content/uploads/2021/03/the-best-makeup-for-travel-by-very-easy-makeup-768x768.png)