My 5-Minute DIY at Home Pedicure (Callus Removal Included!)
This post may contain affiliate links, which means I may earn a commission if you decide to make a purchase through our links, at no cost to you. You may view the disclosure here.
Sharing is caring!
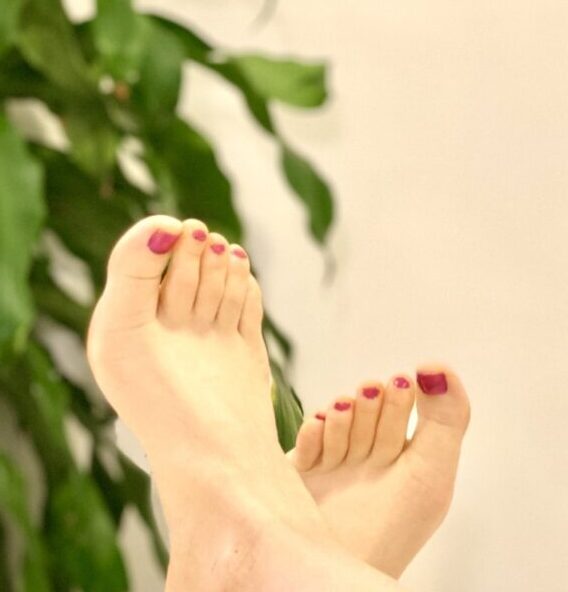
Let’s get real. Getting a monthly pedicure is costly. (Or maybe I’m just cheap.) I’ve only gotten pedicures three times in my entire life, and as a result, I’ve saved extra cash for my TJ Maxx budget. I also have calluses on my feet from running, so I prefer to give myself a pedicure at home.
I highly recommend you learn how to give yourself a pedicure at home. You’ll discover the awesome benefits, which include: updating your nail polish weekly (if you desire), saving time and money, and not worrying about fungal infections (yuck!).
Want to learn how to give yourself a pedicure at home?
Follow these five simple steps for a 5-minute pedicure at home.
This post may contain affiliate links. Read the full disclosure here.
How to do a Pedicure at Home: 5-Minute Pedicure at Home (Including How to Remove Calluses!)
Continue reading to learn how to do a pedicure at home. I'll also cover the pedicure essentials you’ll need to buy too.
1. Remove Nail Polish and Trim Nails
I do my at-home pedicure over two days. Step one is done the night ahead of time.
I remove the existing nail polish on my toenails with a strengthening nail polish remover. I like the Up&Up nail polish remover from Target with Vitamin E added.
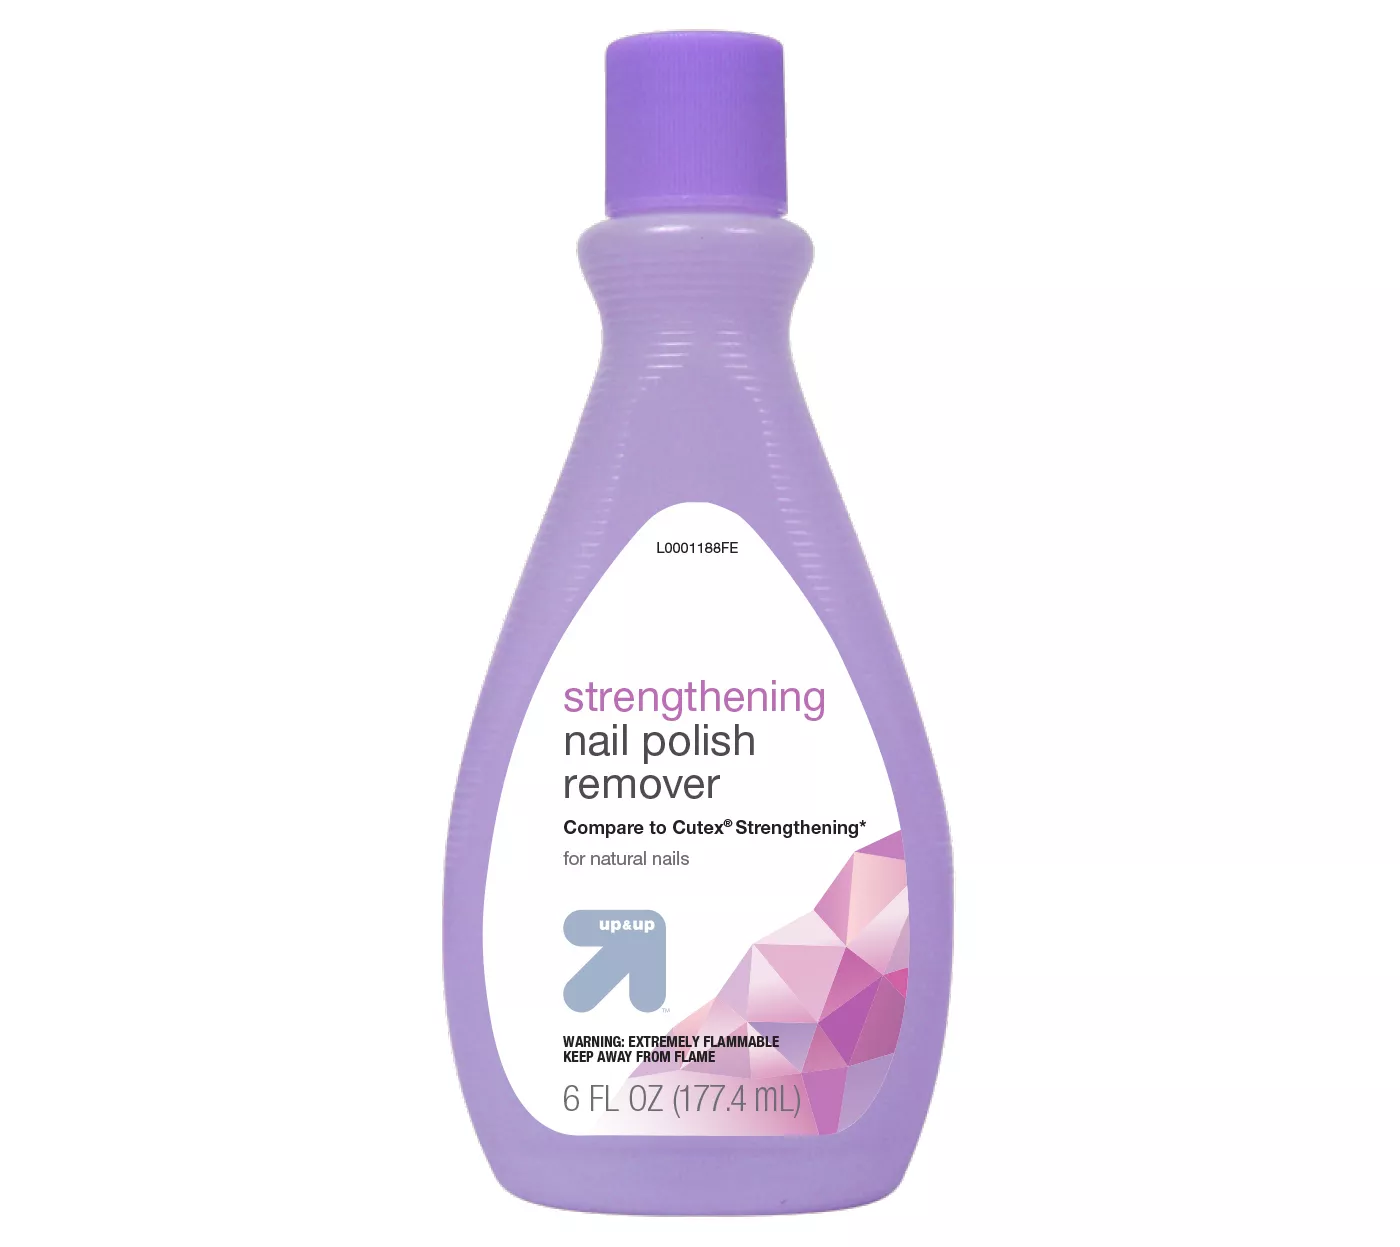
Side note: For some reason, the Up&Up nail polish remover only has 3.5 out of 5 stars online. I have no idea why. I love the nail polish remover.
I apply the nail polish remover to basic Up&Up cotton rounds or the Swisspers cotton rounds (made in USA premium rounds) and it works great.
After you’ve removed the nail polish, trim your toenails with a toenail trimmer. I like the Revlon toenail trimmer.

This sounds disgusting, but I also use the toenail clipper to clip away dead skin surrounding my toes.
This is mostly a problem at the top of my big toe and on the insides of the toe next to my big toe. (I told you – I’m a runner!)
2. Use the “Cheese” Grater in the Shower to Remove Calluses
Step number two for a pedicure at home is to remove dead skin and calluses.
I use what I call a “cheese grater” and it is a pedicure essential, especially if you want to remove calluses. I call it a cheese grater because it looks like a cheese grater! It’s actually called a “callus remover foot file” and it’s only $9.99 from Amazon.
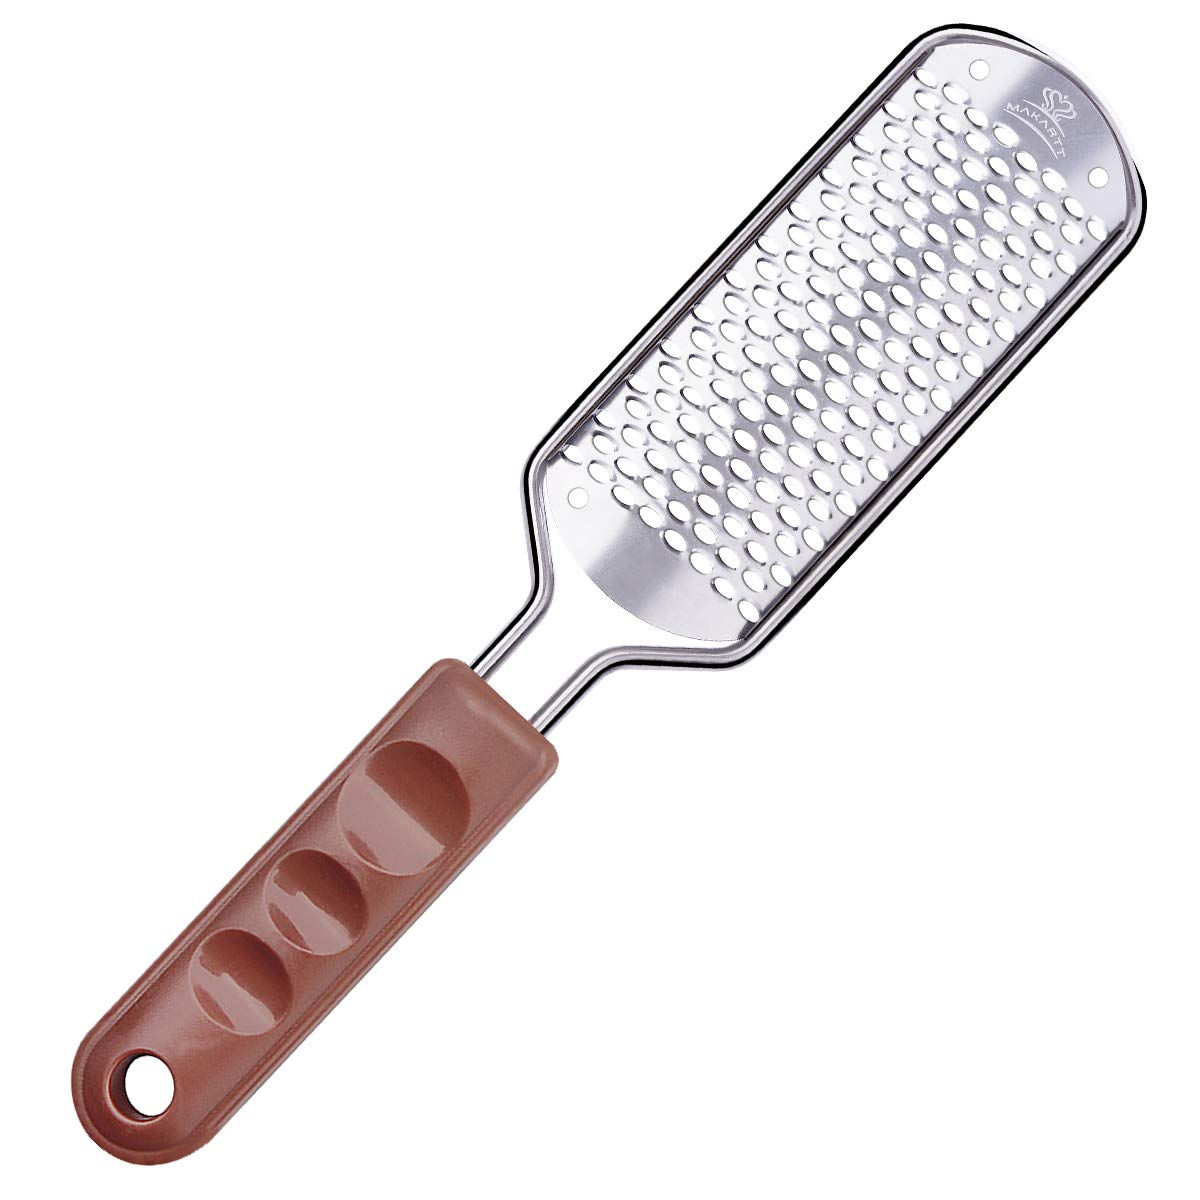
There are foot scrapers, pumice stones, electronic foot files, and fancy creams too, but I keep things simple and only use the callus remover foot file. I’ve had it for 3 years and it still works like new. Plus, the holes in the Makartt foot file are actually big enough to scrape away my calluses and the dead skin surrounding my feet.
I didn’t load before and after pictures of my calluses before using this tool, but I’d be happy to email you the pics if you contact me. (Just send me a message via Facebook.)
3. Dry Feet and Smooth out Calluses and Rough Skin
After you’ve showered and scraped away your calluses with the Makartt callus remover, dry your feet and smooth out the remaining calluses one more time.
I use the “cheese grater” again, and very lightly rub it on my calluses and on the sides of my toes where my skin is extra thick. I also use the toenail clippers again if needed.
4. Wipe Nails Clean with Nail Polish
Now comes the fun part! Wipe the nails one more time with the strengthening nail polish remover and paint your toenails!
My favorite color for my toes is the Jamaica Me Crazy dark pink polish by Essie.
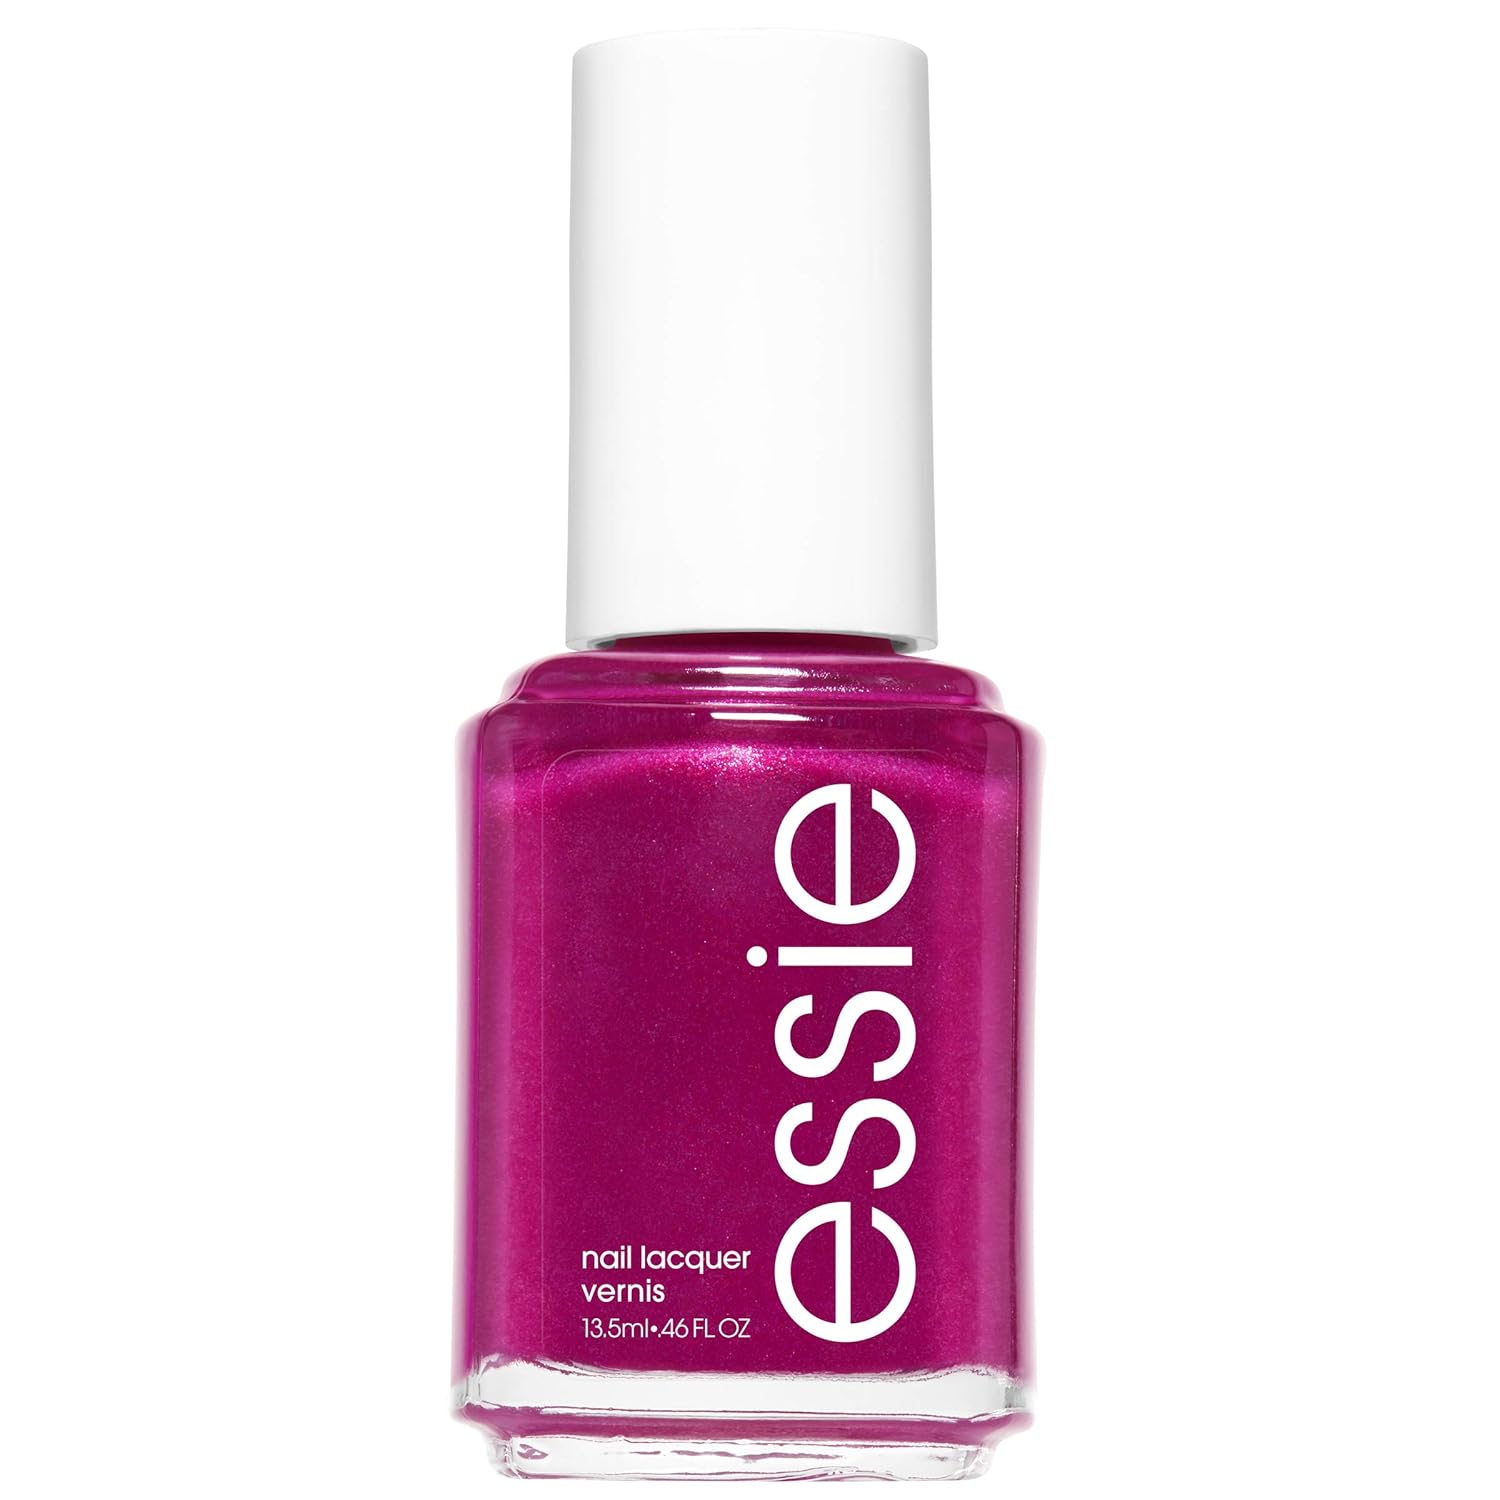
Red is too serious for me, pink is too light, and other colors like blue, green, and orange are just too much for me. I want my toenails to be classy, bright, and cheery, and this color is all three in my opinion.
5. Paint Toenails and Let Air Dry (Don’t Worry If the Polish Isn’t Perfect)
Once I’ve painted my toenails, I sit on my couch, read a good magazine, and let the polish air dry. I’ll admit: I’m not careful at all when I paint my toenails. I often have some polish on the skin surrounding my toes. I wait for the polish to completely dry, and then I rub off the extra polish on my skin with my fingernails the next time I’m in the shower. (It’s my magic trick!)
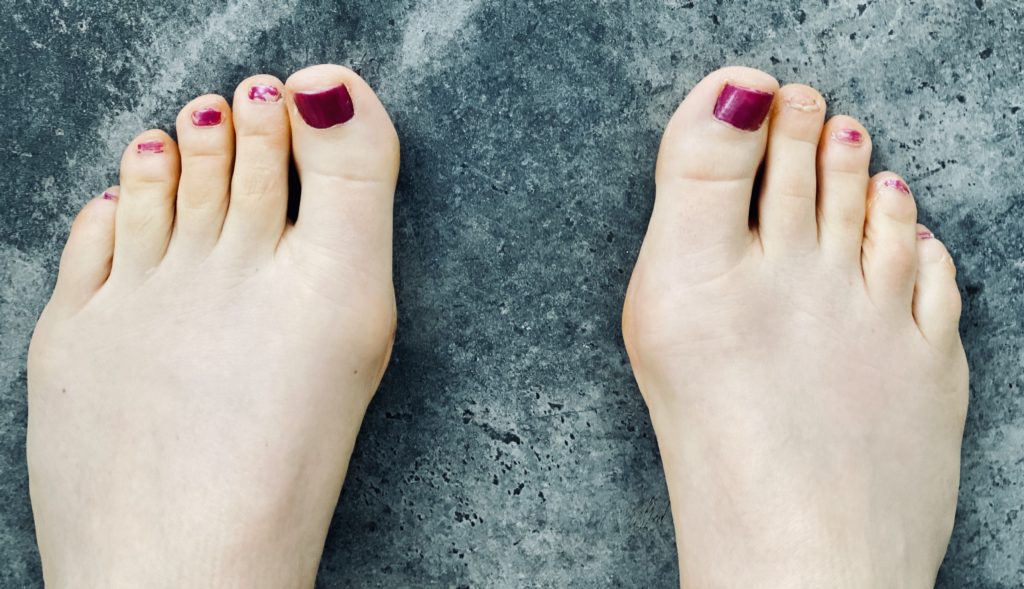
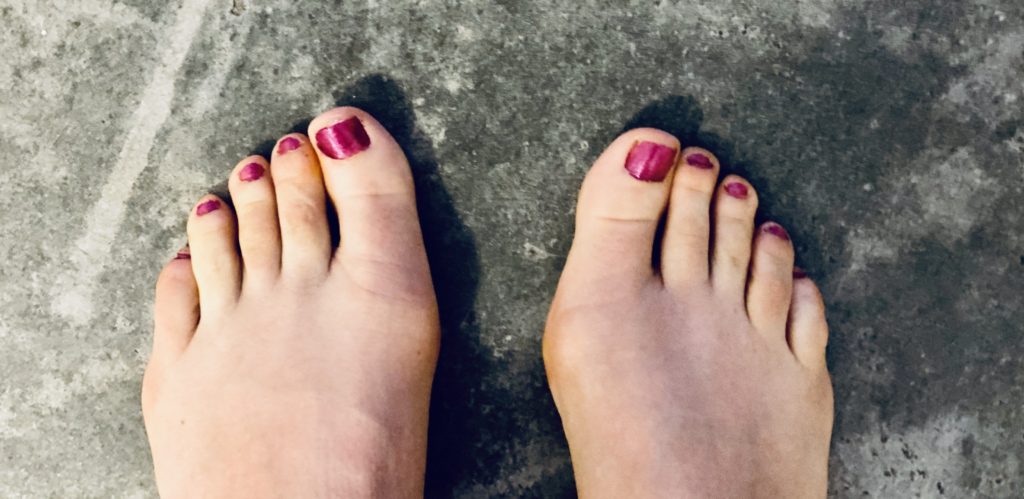
Before and After Pictures of an At-Home Pedicure
Before picture of DIY at home pedicure
After picture (smooth feet + nail polish!)
At Home Pedicure Essentials
Here’s a quick summary of the pedicure essentials you’ll need to do a pedicure at home.
Pedicure Essentials
Want Professional and Natural-Looking Shiny Nails?
If you are craving a pretty manicure too, you are in luck. Check out “5 Min DIY Manicure at Home” to learn how to easily do a natural-looking manicure at home.
I usually leave my fingernails free of any nail polish, or go with a very light pink nail polish for a more natural look.
Conclusion
In summary, it's super easy to do a pedicure at home! All you need is fingernail polish remover, a great callus remover, cotton balls, fingernail polish, and 5-10 minutes of your time!
More Beauty Guides by Very Easy Makeup
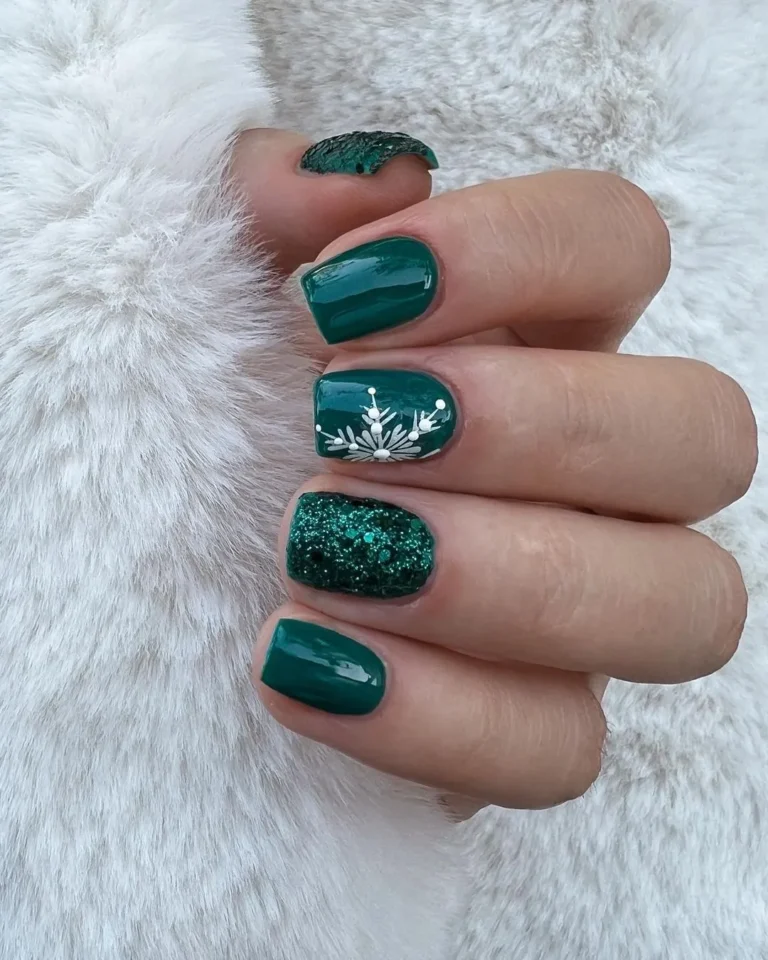
Cute and Easy Halloween Nail Ideas




I think you might try the minimalist pink instead of the red