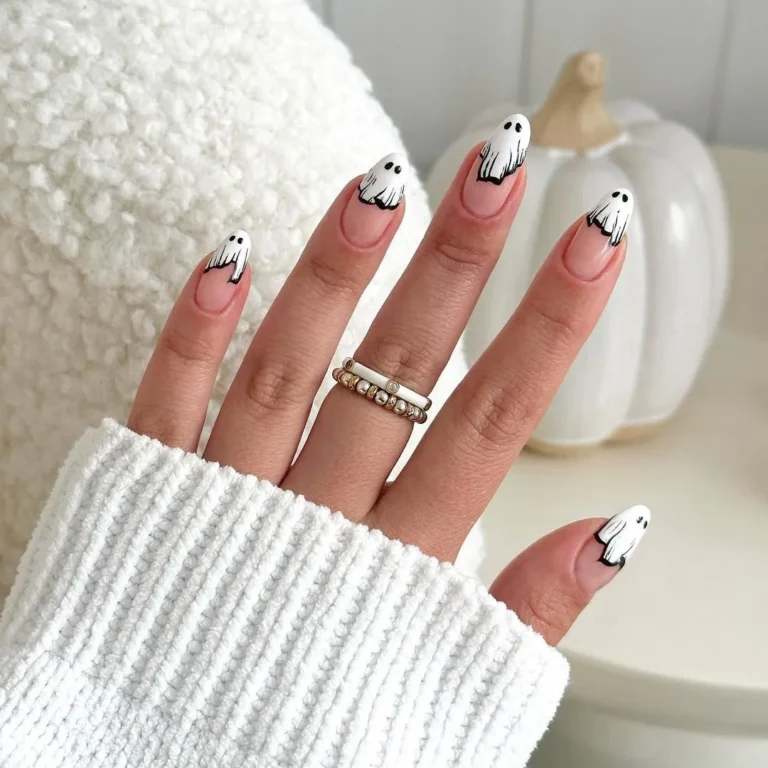
How to Do Acrylic Nails at Home
This post may contain affiliate links, which means I may earn a commission if you decide to make a purchase through our links, at no cost to you. You may view the disclosure here.
Hey there, DIY diva! Ready to unlock your inner nail artist and create stunning acrylic nails from the comfort of your own home? Grab your favorite playlist, and your go-to snacks, and let's dive into the step-by-step process of achieving those flawless square acrylic nails that'll have everyone asking, "Where did you get those done?"
This nail guide is all about how to do acrylic nails at home.
This post contains affiliate links. View the disclosure here.
Step-by-Step Instructions: How to Do Acrylic Nails at Home
Here's how to do your own acrylic nails at home...for beginners!
Step 1: Gather Your Arsenal
Before you start, make sure you've got all the tools you need:
- Acrylic nail kit (liquid monomer, acrylic powder)
- Nail file and buffer
- Cuticle pusher
- Nail primer and bonder
- Nail tips
- Acrylic brush
- UV or LED lamp
- Nail glue
My recommendation is to just buy an acrylic nail kit from Amazon to get started...it's way cheaper and it has everything you need!
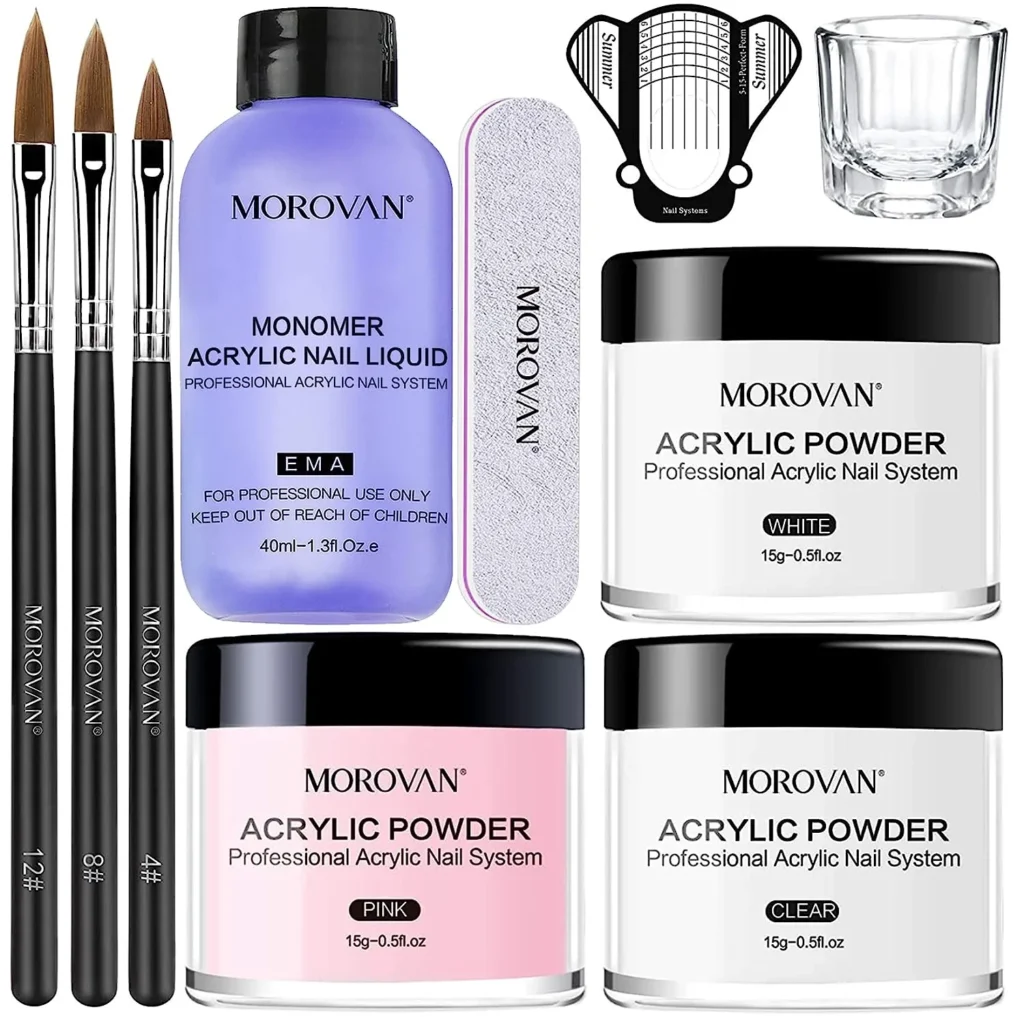
Check out this Acrylic Nail Kit with liquid monomer and acrylic powder or this comprehensive acrylic nail kit for at-home acrylic nails!
Step 2: Prep Your Natural Nails
- Start by gently pushing back your cuticles with a cuticle pusher.
- File your nails into your desired shape – for those fierce square acrylic nails, go for a squared-off tip.
- Use a buffer to gently roughen the surface of your nails, allowing the acrylic to adhere better.
Step 3: Apply Nail Tips (Optional)
- If you're extending the length of your nails, now's the time to apply nail tips. Choose the size that fits each nail, apply a drop of nail glue, and press the tip onto your natural nail. Trim and file to your desired length.
Step 4: Prime Your Canvas
- Apply a thin layer of nail primer and let it air dry to ensure the acrylic adheres properly.
Step 5: Mix Your Magic
- In a dappen dish, pour some liquid monomer.
- Dip your acrylic brush into the monomer, then into the acrylic powder. The mixture should form a ball at the tip of your brush.
Step 6: Sculpting Your Square Acrylic Nails
- Working one nail at a time, gently place the acrylic ball onto your nail, near the cuticle area.
- Use your brush to shape and pat down the acrylic, creating that iconic square shape.
- Repeat the process for each nail, remembering to clean your brush between applications.
Step 7: Smooth It Out
- Once your acrylic is set but not fully dry, use a gentle filing motion to shape and smooth the nails. Be patient and aim for that clean, squared-off look.
Step 8: Seal the Deal
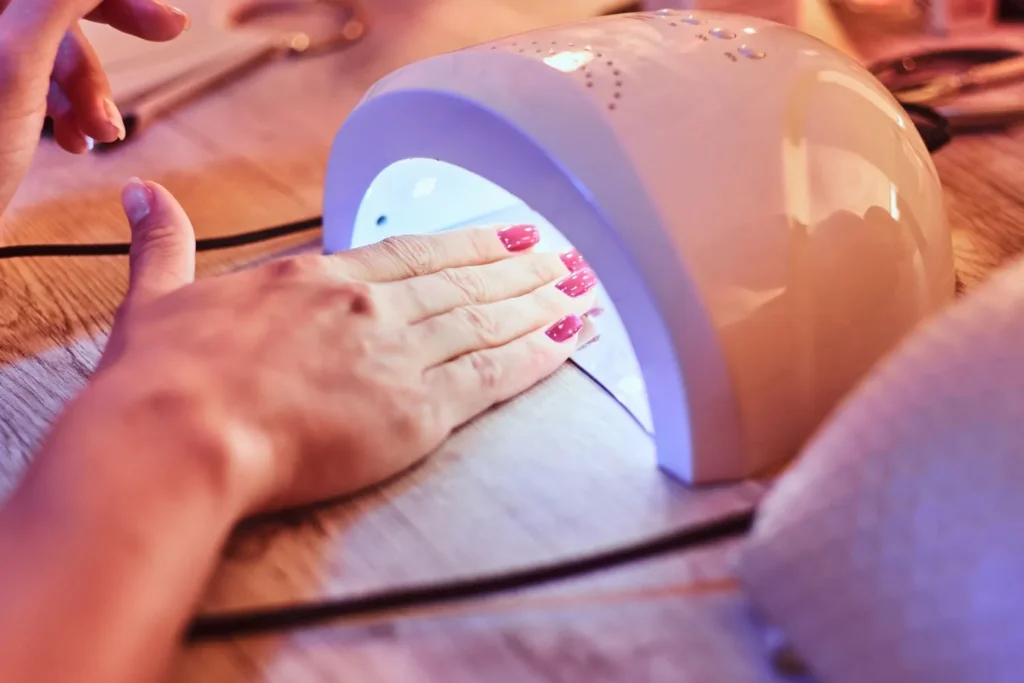
- Finish by applying a top coat to seal in your masterpiece.
- Cure your nails under a UV or LED lamp as per the product's instructions.
Step 9: Shine Bright Like a Diamond
- After curing, buff your nails to achieve that glossy shine that'll make your acrylic nails look professionally done.
Step 10: Hydration Station
- Finish by massaging cuticle oil into your nails and cuticles for a nourishing treat. I personally love the Cuccuio cuticle oil from Amazon.
Step 11: Flaunt Your DIY Acrylic Nails
- Take a moment to admire your work – you've just created salon-worthy acrylic nails right at home! Whether you're heading out or just slaying for yourself, your nails are ready to steal the spotlight.
Remember, darling, practice makes perfect. Your first attempt might not be flawless, but with each try, you'll refine your technique and soon become a DIY acrylic nail pro. So channel your inner artist and let those creative juices flow – you've got this, nail superstar! 💅🏾
How to Remove Acrylic Nails at Home
Ready to switch up your style or give your nails a breather? Let's talk about saying goodbye to those fabulous acrylic nails in a gentle and fuss-free way. Pop on your favorite cozy socks, queue up a feel-good movie, and let's dive into the step-by-step process of safely removing those acrylic wonders.
Step 1: Prep Your Workspace
Create a comfy nail oasis with all your essentials:
Acetone
Cotton balls or pads
Aluminum foil
Cuticle oil or moisturizer
Nail file and buffer
Buffer block or sanding block
Step 2: Gently File the Top Layer
Use a buffer or sanding block to gently file down the top layer of the acrylic nails. This helps break the seal and allows the acetone to penetrate.
Step 3: Soak 'Em Up
Soak cotton balls or pads in acetone.
Place each soaked cotton pad onto your nail.
Wrap each finger with a small piece of aluminum foil to hold the cotton pad in place.
Step 4: Relax and Wait
Sit back, relax, and let the acetone do its magic. This might take around 20-30 minutes, so catch up on your favorite show or indulge in a mini spa moment.
Step 5: Gently Remove Acrylic Nails
After the wait, gently slide off the aluminum foil wraps.
Use a gentle twisting motion to help lift the acrylic nails. If they're not coming off easily, resist the urge to force them – simply re-wrap and wait a bit longer.
Step 6: Buff Away Residue
Use a nail buffer or file to gently remove any leftover acrylic residue. Be careful not to damage your natural nails – slow and steady wins the race!
Step 7: Hydration and Healing
Your nails might be feeling a bit dry after this process, so treat them to a hydrating cuticle oil or moisturizer. Massage it in to nourish your natural nails.
Step 8: Take a Breather
Now that your nails are acrylic-free, it's the perfect time to let your natural nails breathe for a while. Rock them with pride and let them recover their strength.
Step 9: Ready for the Next Adventure
Whether you're planning to rock your natural nails or dive into a new nail adventure, you've successfully removed your acrylic nails with care and love.
Remember, babe, patience is key. Rushing the removal process can lead to nail damage, so take your time and pamper your nails throughout the process. Your nails deserve all the TLC you're giving them, and soon enough, they'll be ready for their next stunning look. Keep shining, nail queen!✨
How to Do Acrylic Nails at Home – YouTube Video
A YouTube video is always helpful when it comes to acquiring a new skill! This YouTube video shows you how to do acrylic nails at home, and is definitely worth checking out!
Summary
So whether you're applying or removing, remember that your nails are a canvas of self-expression. Take your time, enjoy the process, and let your inner nail artist flourish. From bold designs to graceful farewells, you've got the power to rock any style you desire. Keep slaying those nail looks, superstar!